编译安卓源码并修改开机动画
Jul 2, 2023
本文将编译安卓源码,使用自带emulator工具对编译后的系统进行模拟运行,并修改开机动画。
下载源码并编译安卓
配置环境
1 | sudo apt install git-core gnupg flex bison build-essential zip curl zlib1g-dev gcc-multilib g++-multilib libc6-dev-i386 libncurses5 lib32ncurses5-dev x11proto-core-dev libx11-dev lib32z1-dev libgl1-mesa-dev libxml2-utils xsltproc unzip fontconfig |
安装repo工具
1 | mkdir ~/bin |
下载源码
使用repo init的方法不稳定,因此从中科大镜像源上直接下载aosp镜像tar包,下载完成后进行提取。
1 | tar -xf aosp_latest.tar |
进入提取后的aosp目录,运行如下命令,进行同步。
1 | repo sync |
开始编译
初始化环境,每次开启Shell时都需要运行该命令。
1 | source build/envsetup.sh |
通过lunch命令对构建目标进行配置,我这里选择的是sdk_pc_x86_64-userdebug。
1 | lunch sdk_pc_x86_64-userdebug #也可以只输入lunch命令,再根据提示进行选择 |
开始构建,可以通过-jN选项设置线程数。
1 | m |
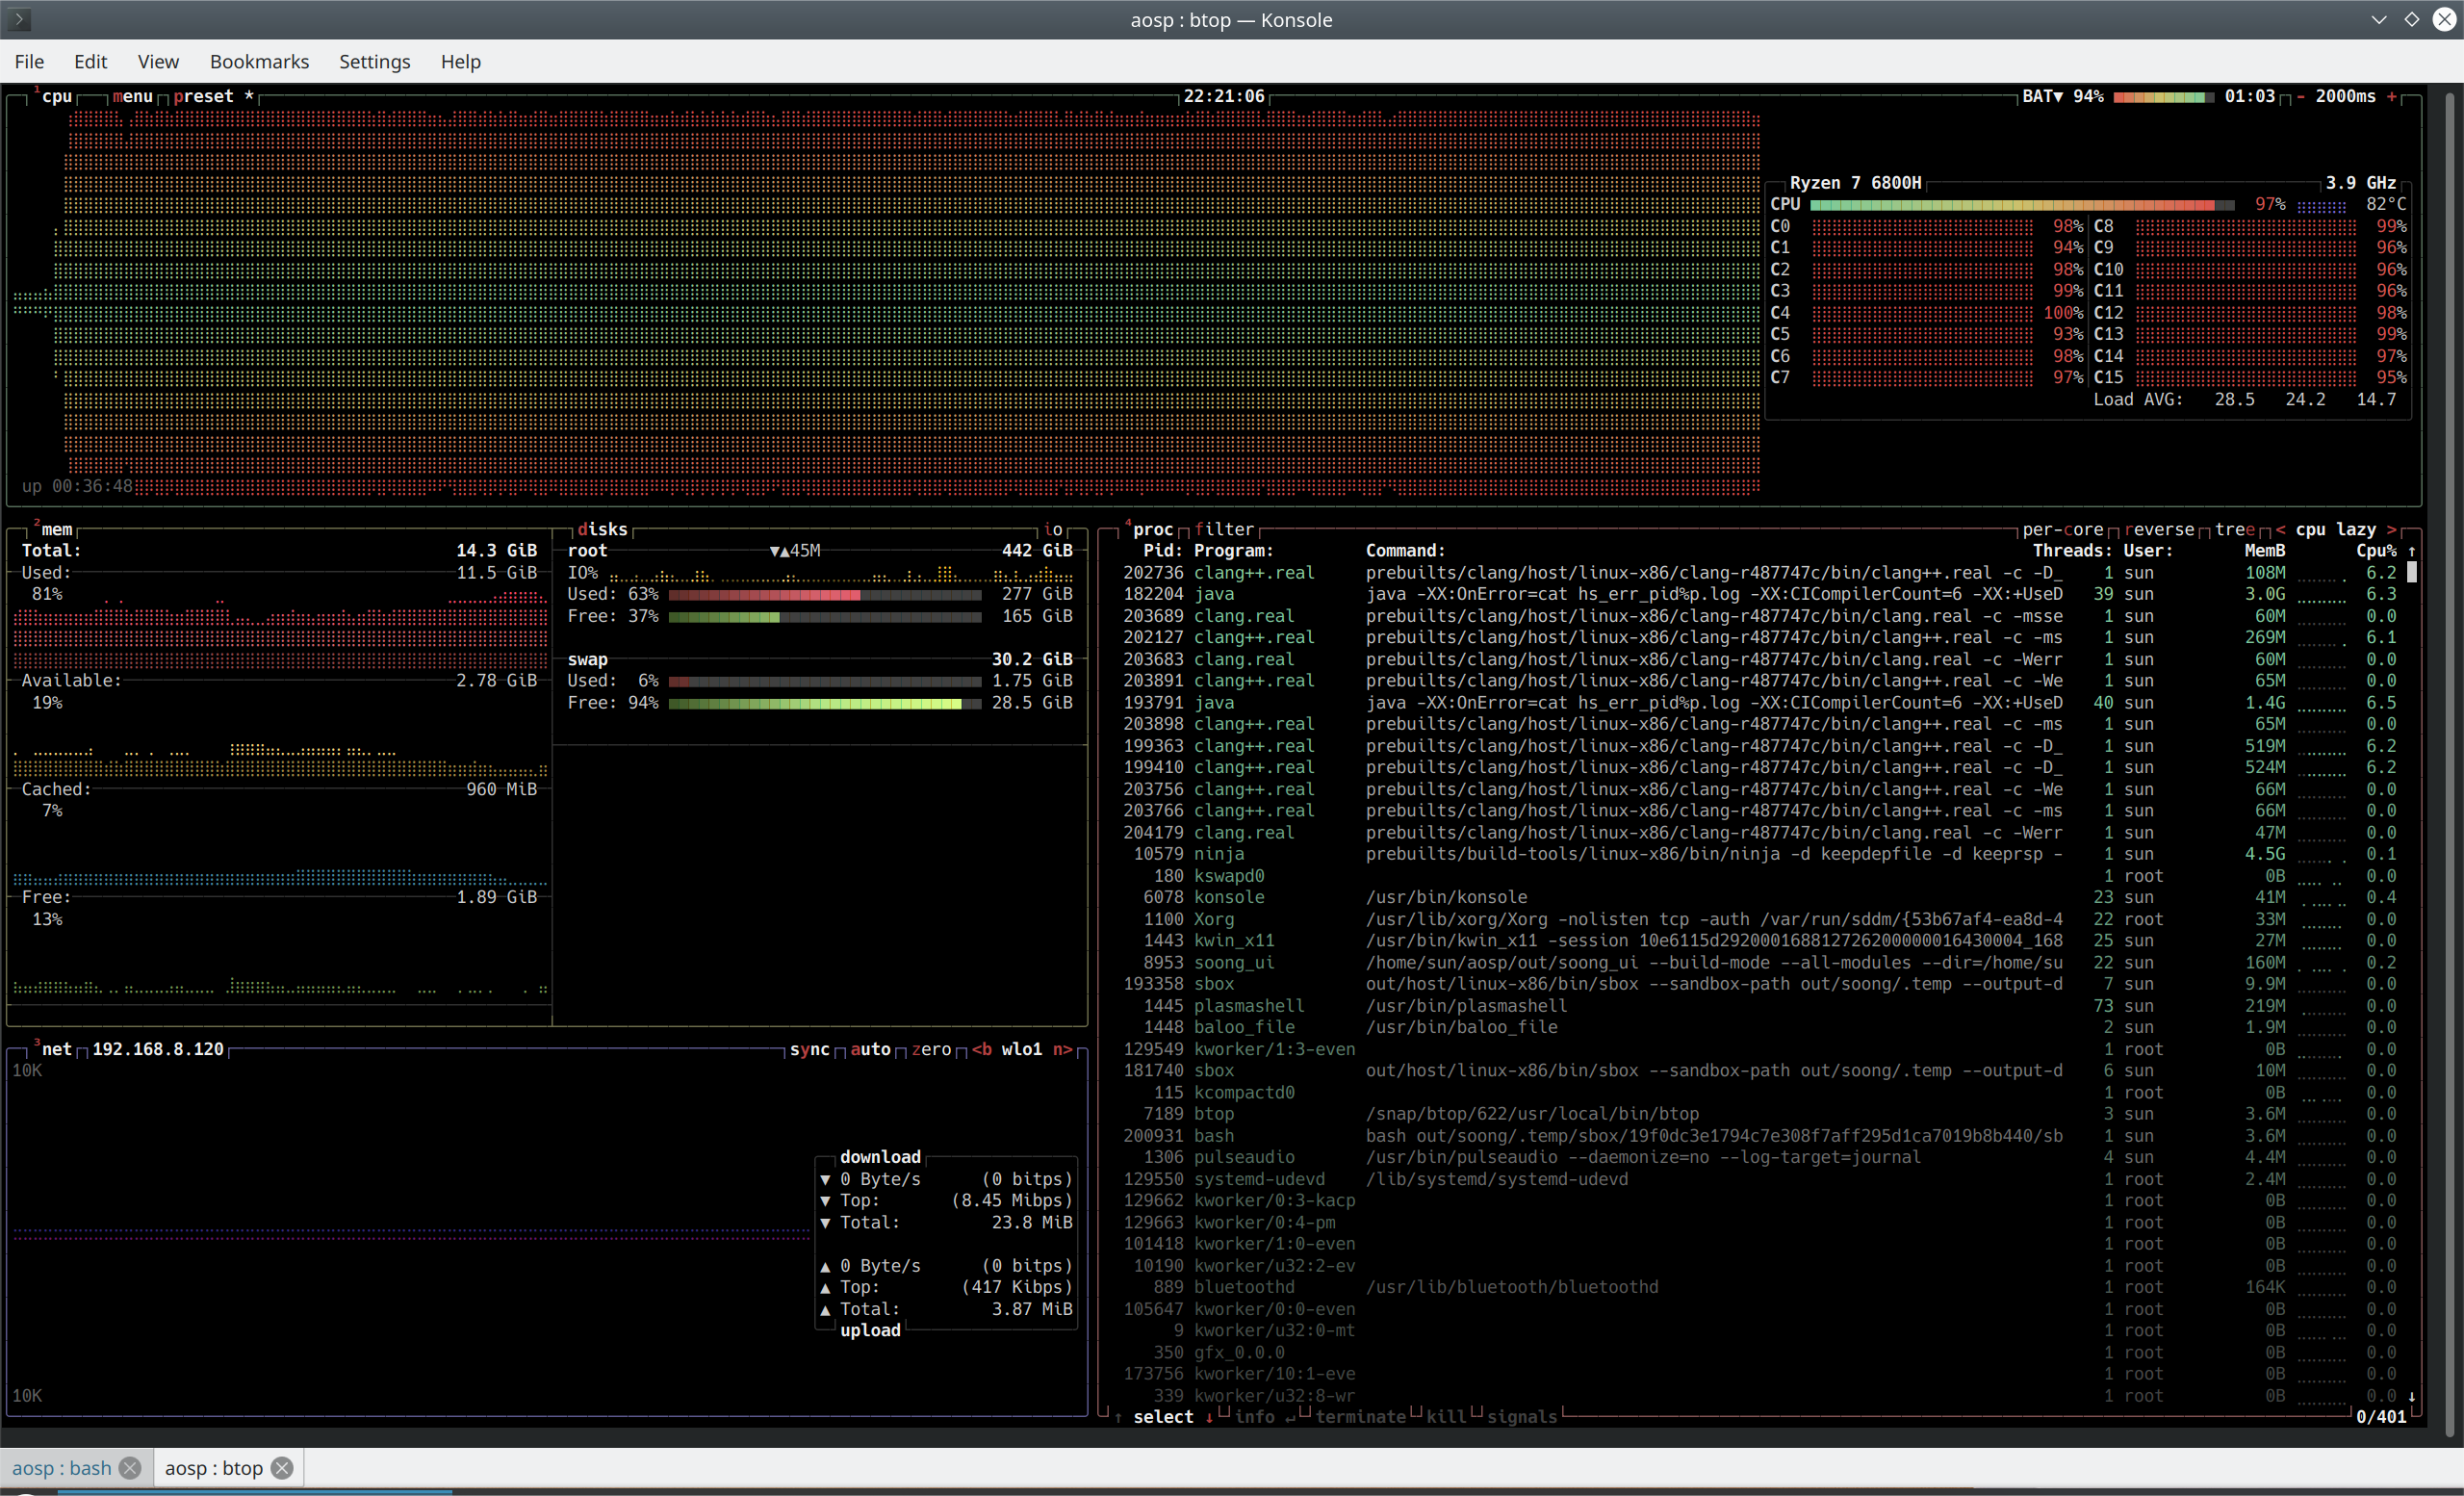
本文使用16线程数、16GB内存以及30GB交换空间进行编译,耗时约两个半小时,编译完成后提示:
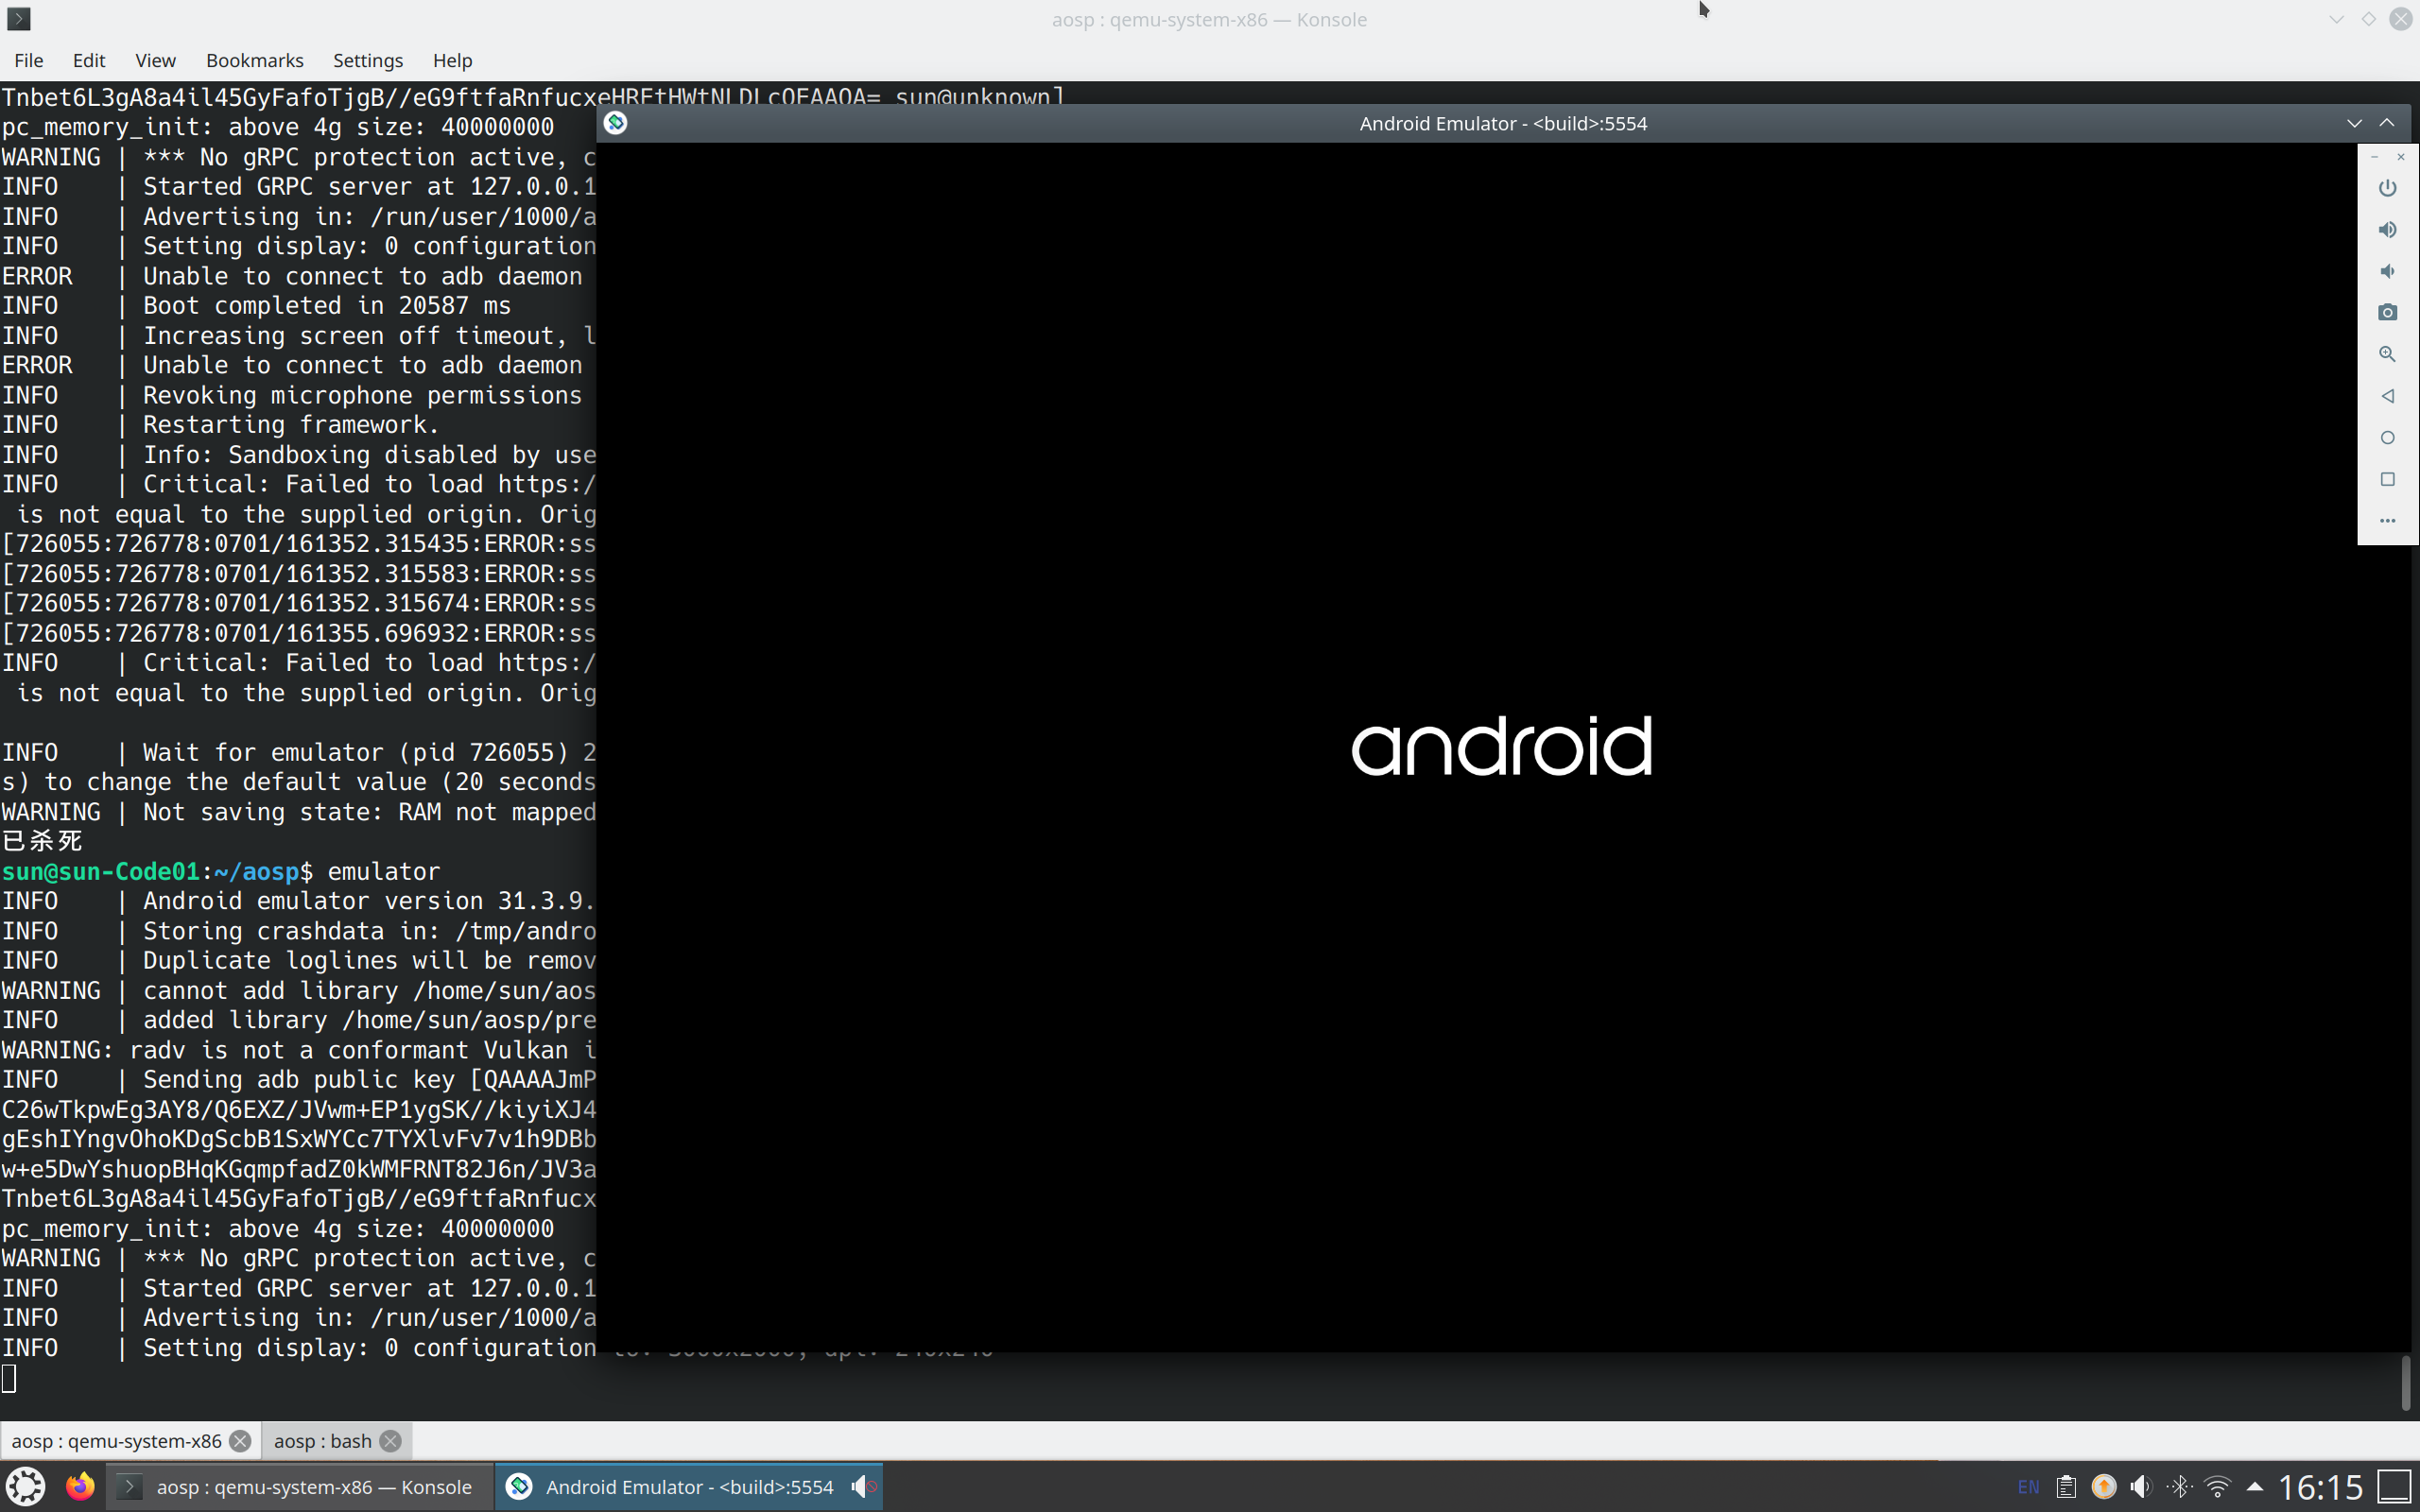
运行emulator
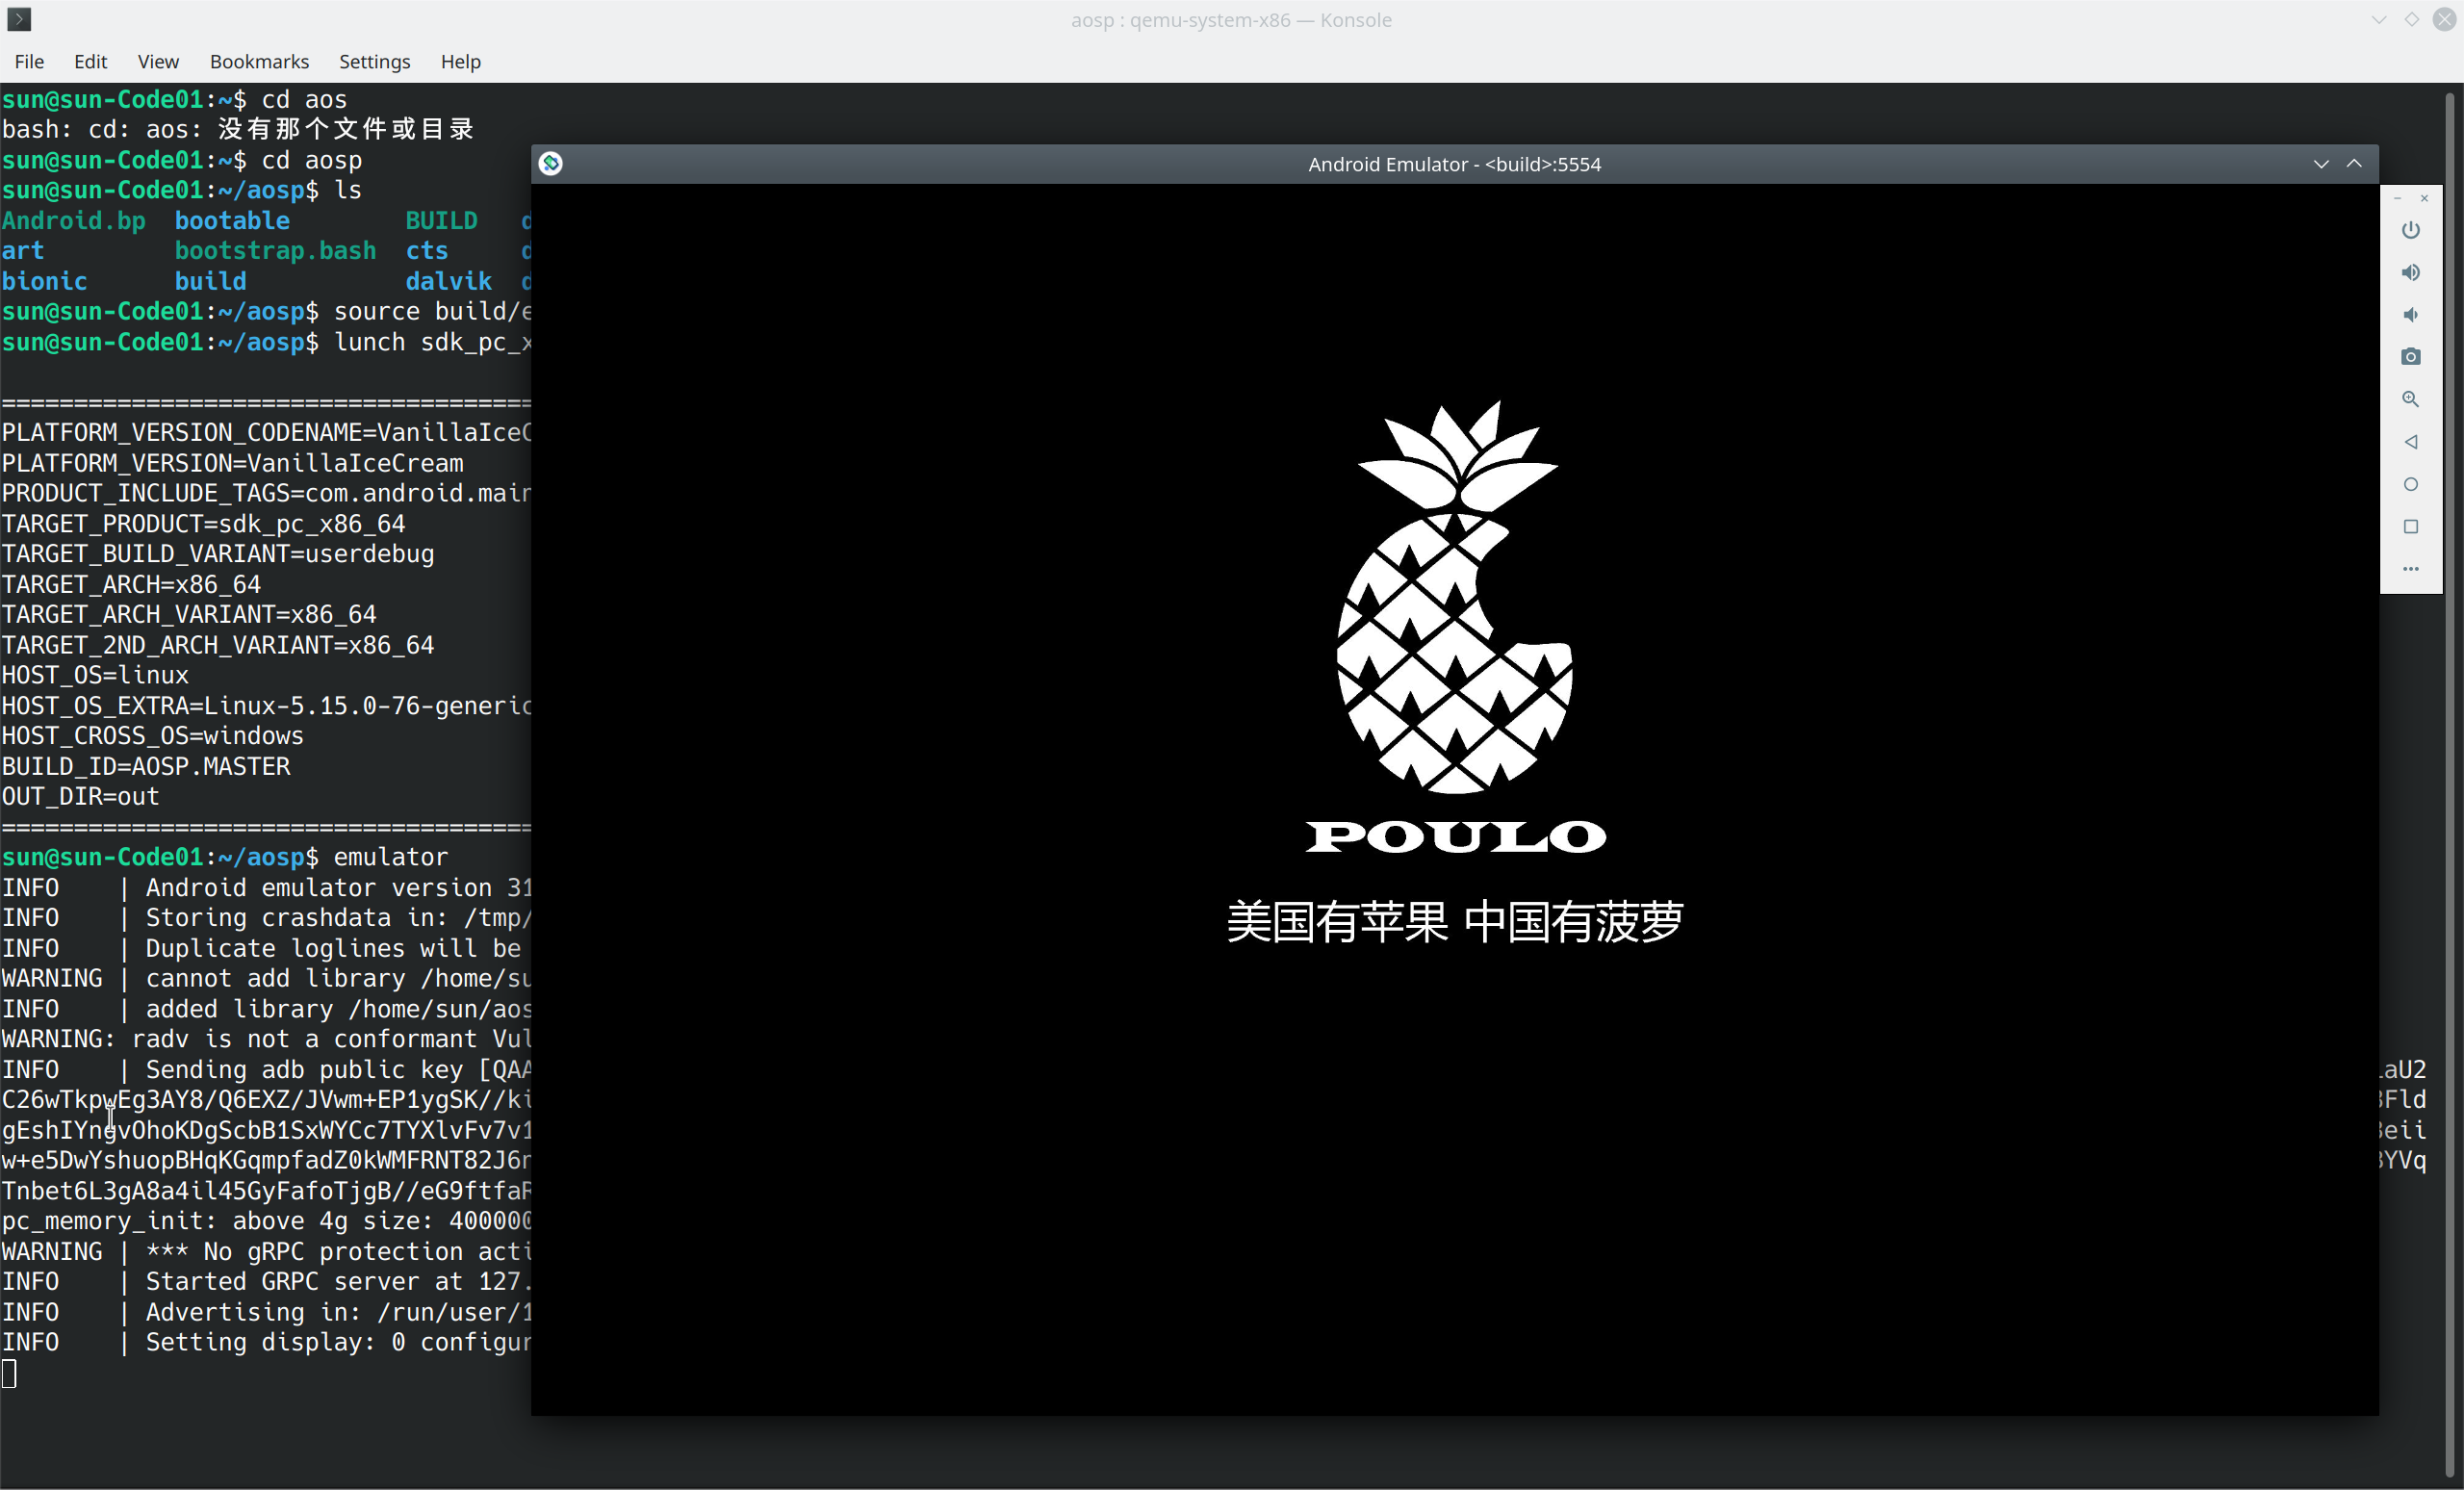
编译完成后,使用emulator命令启动模拟器,在启用模拟器前,需要通过lunch进行设置。
1 | emulator |
修改开机动画
打开packages/services/Car/car_product/bootanimations/bootanimation-832.zip目录,将bootanimation-832.zip修改为自定义的开机动画即可。
修改完成后,将下述代码加入编译时使用到的任意makefile即可,我这里选用的是build/make/core/envsetup.mk。
1 | PRODUCT_COPY_FILES += \ |
重新编译,再运行emulator,即可看到修改后的开机动画。